Installing Eclipse
Install Supervisor
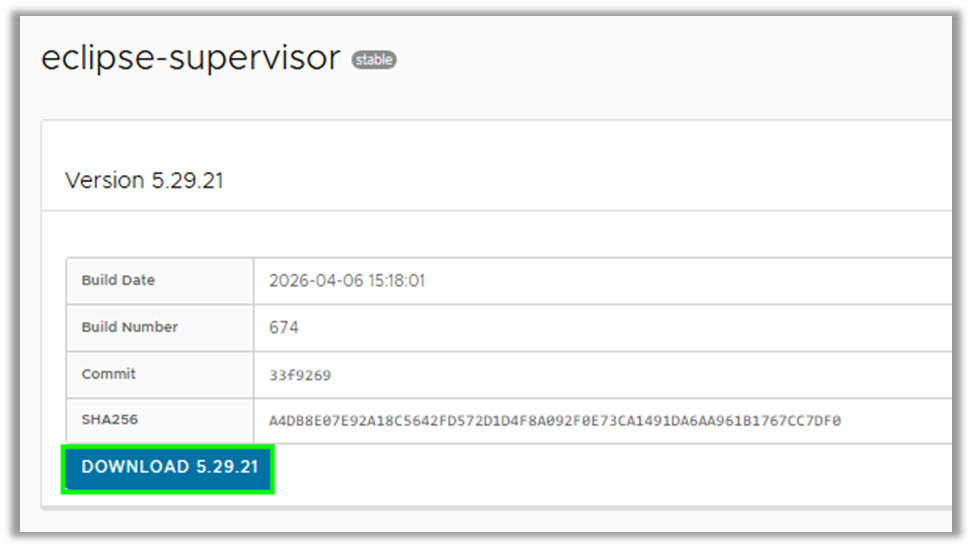
The Supervisor installer can be downloaded from the AMS Portal link below:
https://portal.amscontrols.com/builds/eclipse-supervisor
- Select Download
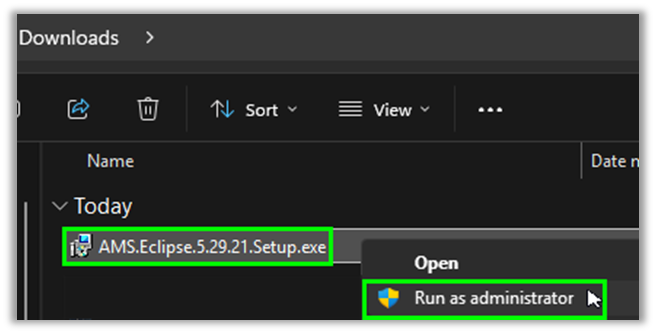
- Locate the “AMS.Eclipse.5.XX.XX.exe” installer within downloads folder, Right-click the executable and select “Run as Administrator.”
- When the installation is completed select. “Launch”
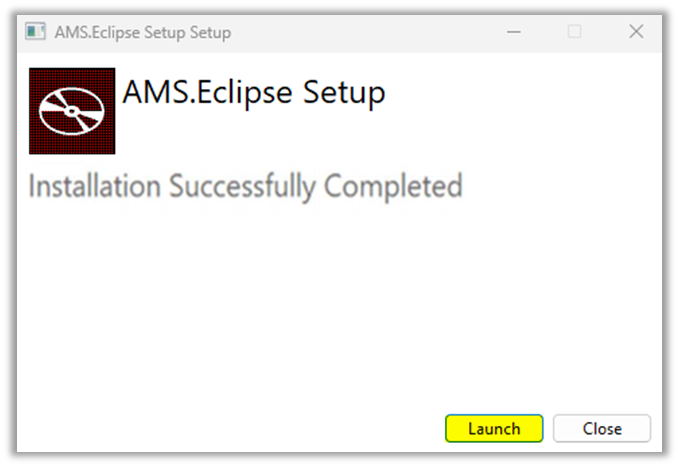
- Selecting “Launch” takes you the supervisor workloads web page http://localhost:58080
This completes the Supervisor installation. Continue below to begin the Eclipse setup process.
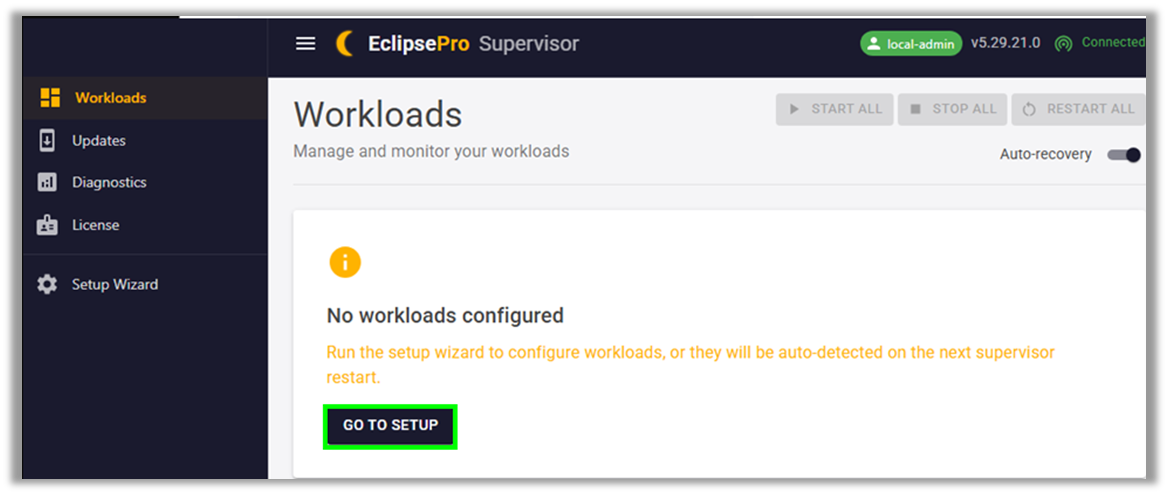
- On the Supervisor Workloads web page, Select the option “Go To Setup”
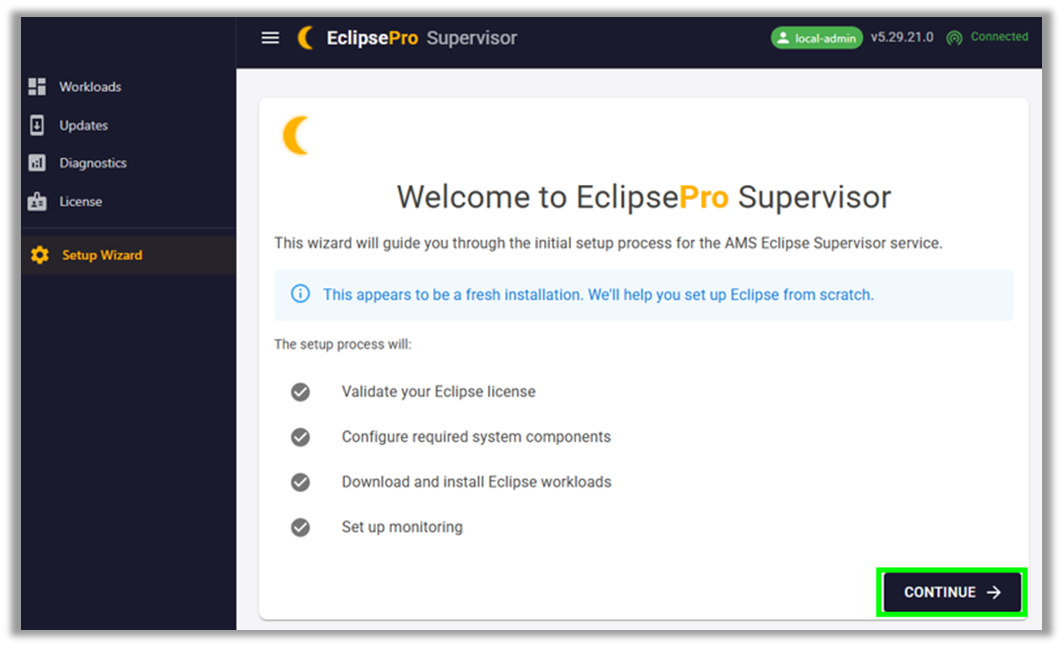
- Select the option “Continue”
Verify Licensing
An AMS Representative will provide Eclipse licensing information after purchase. Licensing information will be an Eclipse Classic license sheet for an Eclipse legacy installation or an Eclipse Pro serial number for an Eclipse Pro installation.
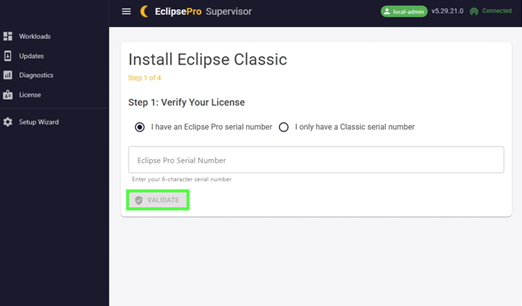
- • If provided the Eclipse Pro serial number from an AMS representative, select “I have an Eclipse Pro serial number” and input the Eclipse Pro serial number. Then select “Validate”
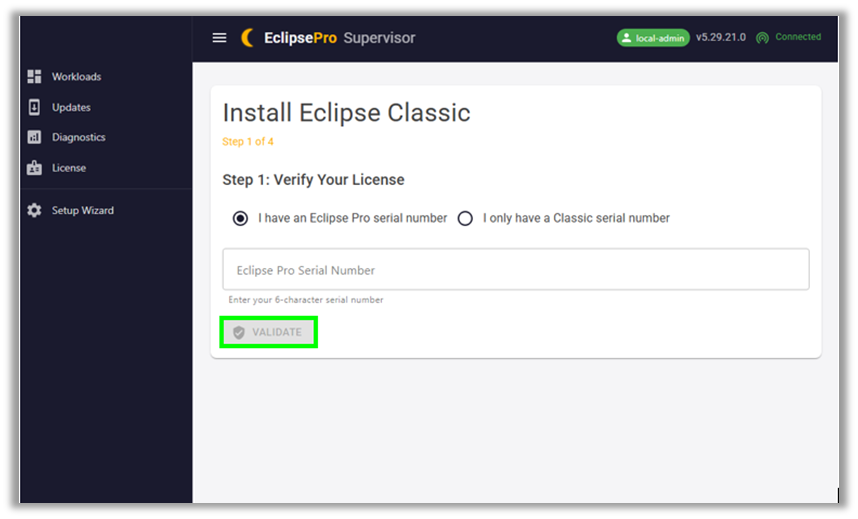
• If given an Eclipse Classic license sheet from an AMS representative, select “I only have a Classic serial number”. Input the Classic Serial number without dashes from within the license sheet. Then select “Validate”.
Install Eclipse Classic
- Follow the Download & Install Eclipse Classic instructions displayed on screen.
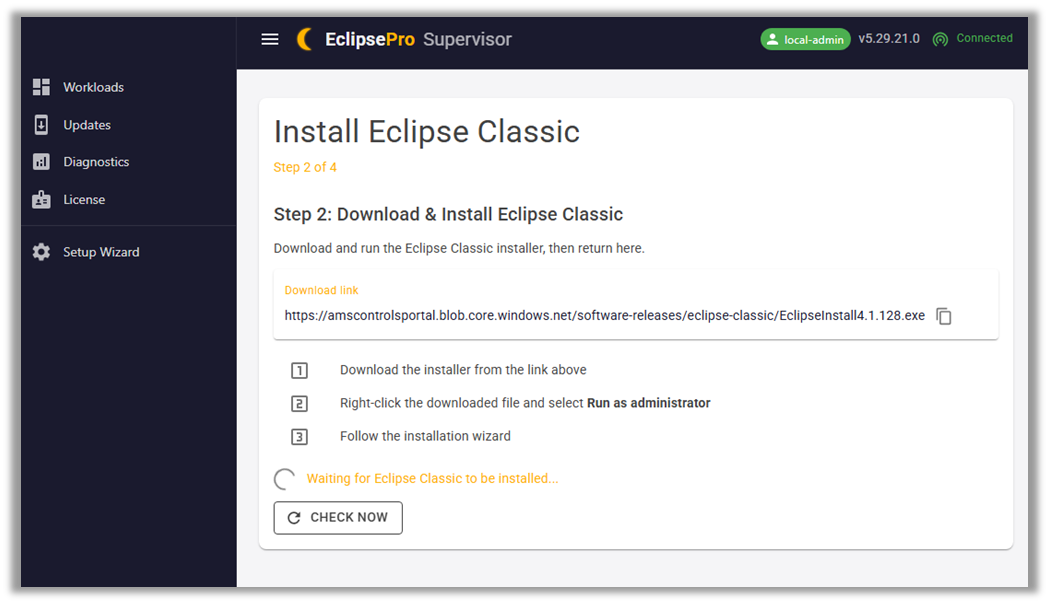
Running Eclipse Classic Installation Wizard
2.1 Copy and paste the URL into a web browser https://amscontrolsportal.blob.core.windows.net/software-releases/eclipse-classic/EclipseInstall4.1.128.exe to download the root Eclipse installer.
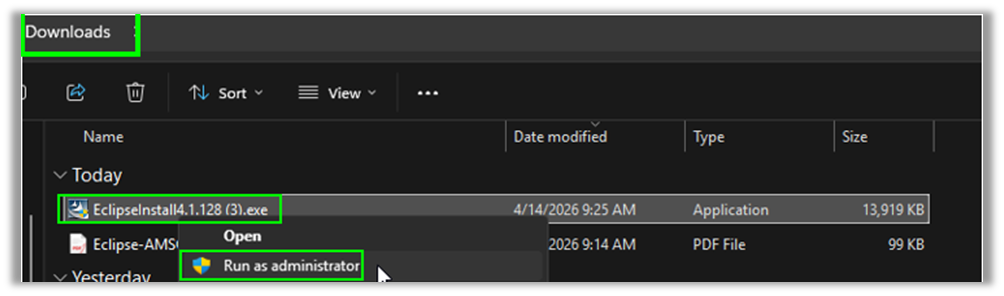
2.2. Locate the “Eclipseinstall4.1.128.exe” executable in the downloads folder, right-click and select “Run as Administrator.”
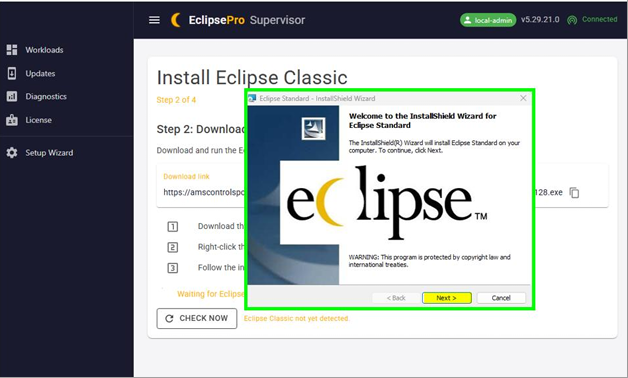
2.3.The Eclipse Standard installation window will appear, select “Next”
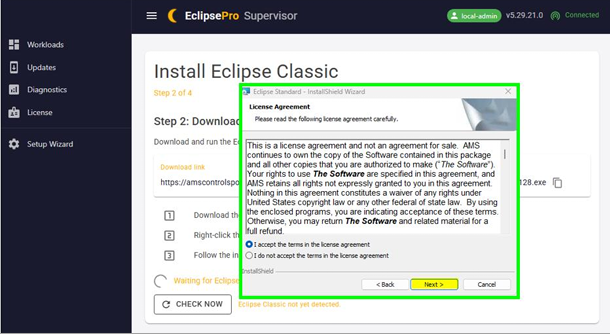
2.3a. Accept the EULA and select “Next”
2.3b. Select “Master” if not selected and then select “Next”
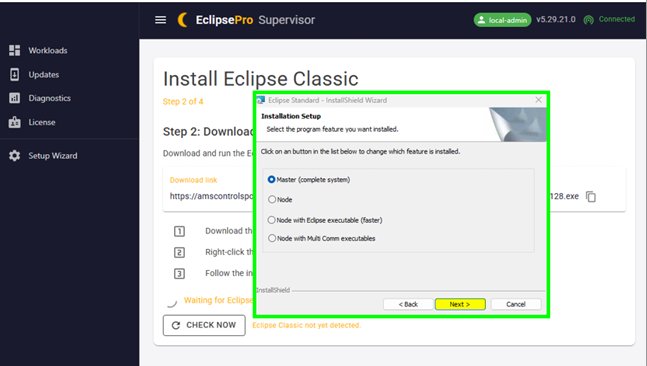
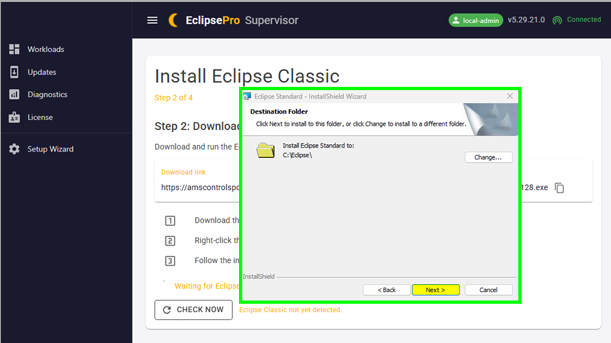
2.3c. Confirm that Eclipse is installing to the C:\Eclipse directory and then select “Next”.
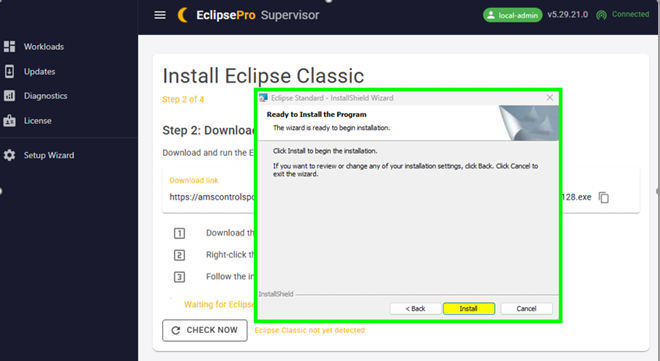
2.3d. Select “Install”
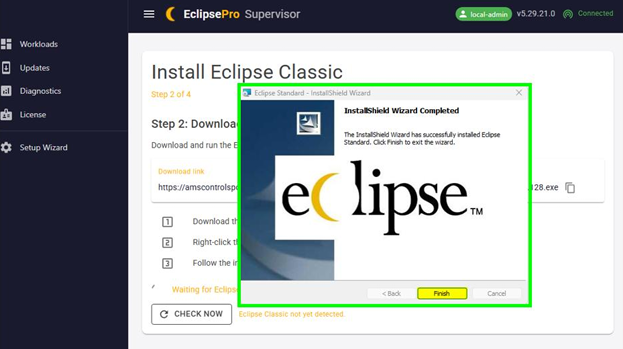
2.3e. Select “Finish.”
Eclipse Classic First Launch and Machine Setup
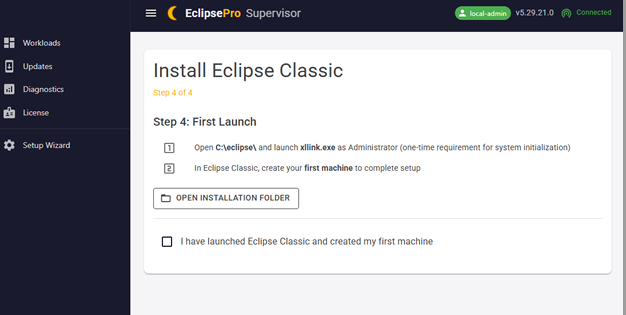
4.1. Select “Open Installation Folder” or navigate to C:\Eclipse in file explorer and locate the xllink.exe. Right Click the xllink.exe and select “Run as administrator.”
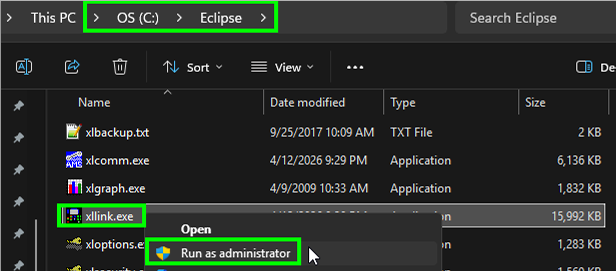
4.2. If you receive a prompt below that “Eclipse can import files from older DOS versions.”, select “Continue”.
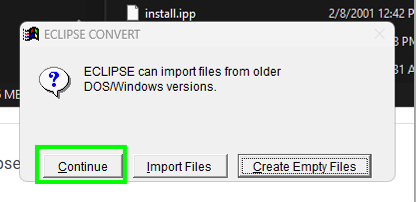
4.2a. Eclipse will be launched and prompt that there are no machines defined. Select OK.
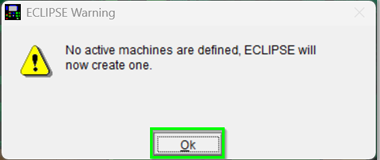
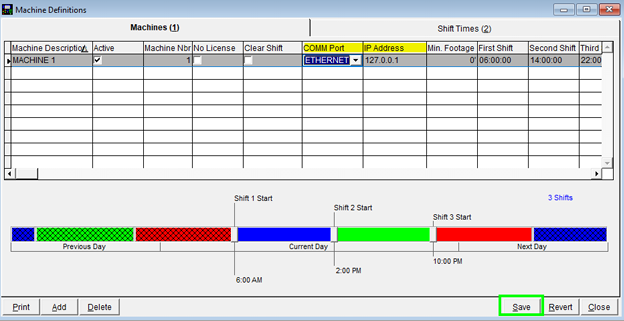
4.2b. The Machine Definition window will appear.
- Enter a name for the machine within Machine Description
- Select ETHERNET under COMM Port drop-down menu
- Enter the Machine IP ADDRESS
- Select Save to apply the changes
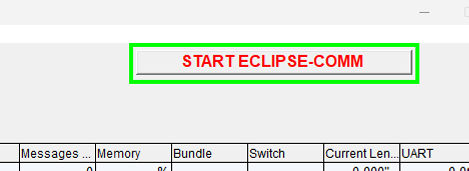
4.2c. Select the option to “START ECLIPSE-COMM” in the top right-hand corner of the Eclipse window.
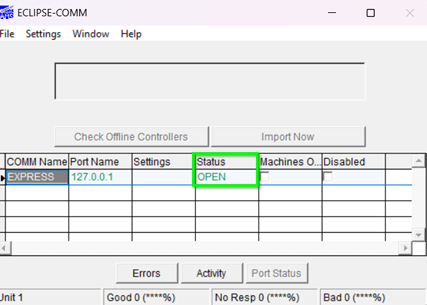
4.2d. The Eclipse-COMM application will launch. Verify that the machine is effectively communicating with Eclipse software. Select the “Port Status” button, the Status will show open if Eclipse-COMM is communicating.
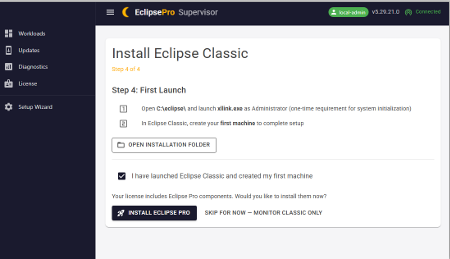
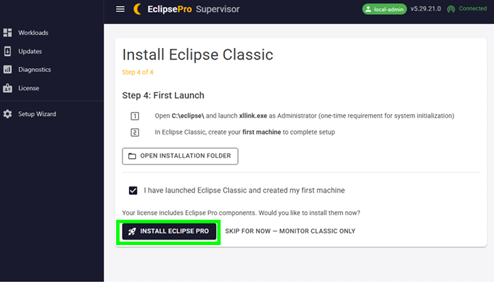
Now that the machine has been added and Eclipse has been launched, navigate back to Supervisor, and check the box for “I have launched Eclipse Classic and Created my First Machine”.
This completes the Eclipse Classic installation. Continue below to begin the Eclipse Pro installation.
Install Eclipse Pro
- Select “Install Eclipse Pro” to Proceed with the Eclipse Pro software installation.
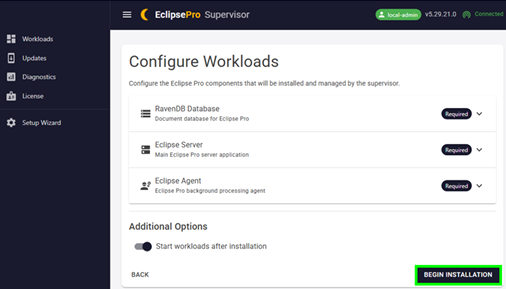
- Select “Begin Installation”
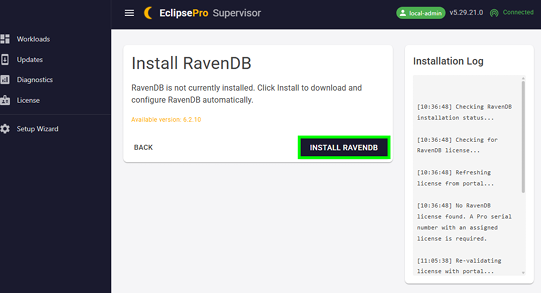
- Select “Install RavenDB”
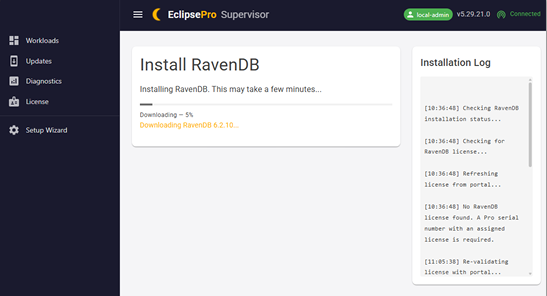
- Supervisor will display the RavenDB installation process.
- Supervisor will automatically continue installing Eclipse Server and Eclipse Agent.
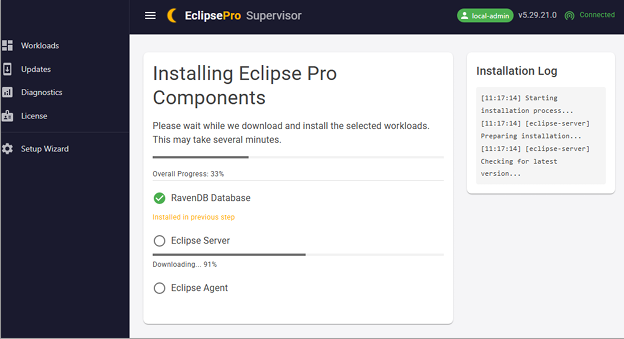
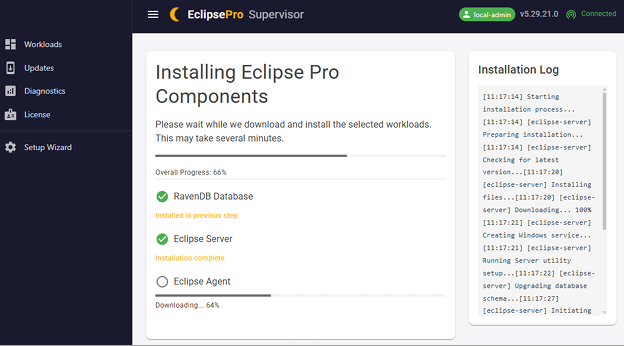
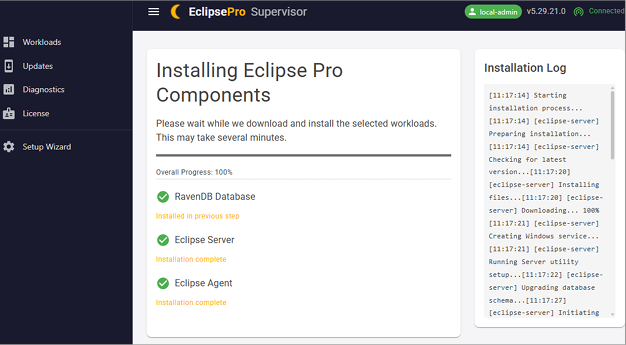
- When the installation is complete, select the option “Go To Dashboard”.
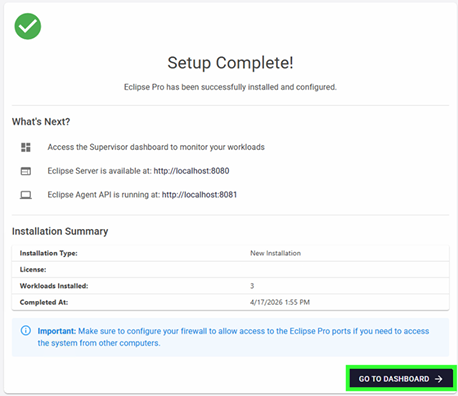
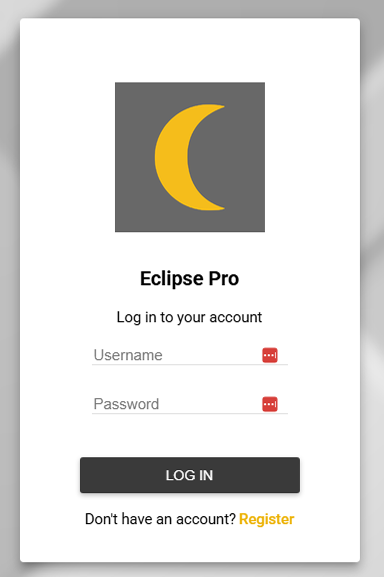
Test and verify that you can access the Eclipse Pro Web URL: http://localhost:8080 . You should be taken to the Eclipse Pro log in page if the installation was successful.
Select Register to register an Eclipse Pro user account.
The first account created after installation is automatically granted administrative permissions.
Ensure that the first account created is done with a username and password that is documented!
QA
The QA section is here to help with common issues encountered during setup. If any of the resolution steps below do not work, please contact AMS Support at (314)344-3144 option #2 or via email at support@amscontrols.com
-
I do not have an Eclipse Classic or Eclipse Pro Serial Number.
- Please reach out to AMS Controls Support team at (314)344-3144 option #2. or via email at support@amscontrols.com. Be sure to have relevant information pertaining to your purchase of Eclipse software. If you have a sales order number or machine serial number, please have them available prior to contacting the support team this will help expedite the response.
-
I have purchased Eclipse Pro, but I only have an Eclipse Classic Serial Number provided.
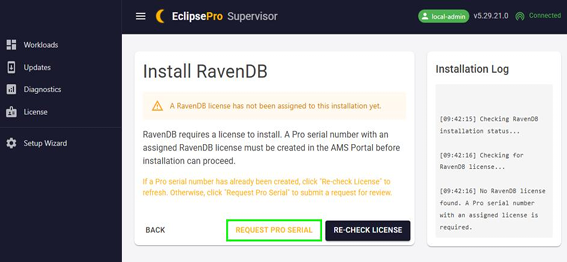
- If you hit a delay with Eclipse Pro licensing, you can select “Request Pro Serial”. This will update the AMS license portal that there is an Eclipse Pro license pending. An AMS representative will reach back out to assist with the request. Sending an email to support@amscontrols.com with any additional information will also help expedite the response.
-
I purchased Eclipse Classic, but I am interested in what features are available to me in Eclipse Pro.
-
You can find additional information surrounding Eclipse Pro on the AMS Controls website Eclipse Pro
-
For detailed information surrounding Eclipse Pro pricing please reach out to Sales@amscontrols.com.
-
-
My Eclipse-COMM status port does not show “OPEN”. My machine is not communicating with Eclipse.
-
Confirm that the AMS Controller has been configured with networking settings. Details on how to configure network settings at the AMS Controller can be found below:
- Establishing Communication with Eclipse
-
Confirm that the IP Address is accessible from the Eclipse host computer. You should be able to successfully ping the IP Address assigned to the AMS Controller.
-
-
I cannot get to my Eclipse Pro URL.
-
Confirm you are navigating to the correct URL, the Eclipse Pro URL is http://localhost:8080 where “localhost” will be the Eclipse host computer name.
-
Verify that the Eclipse Host computers Windows Firewall is allowing incoming traffic on port TCP port 8080.
-
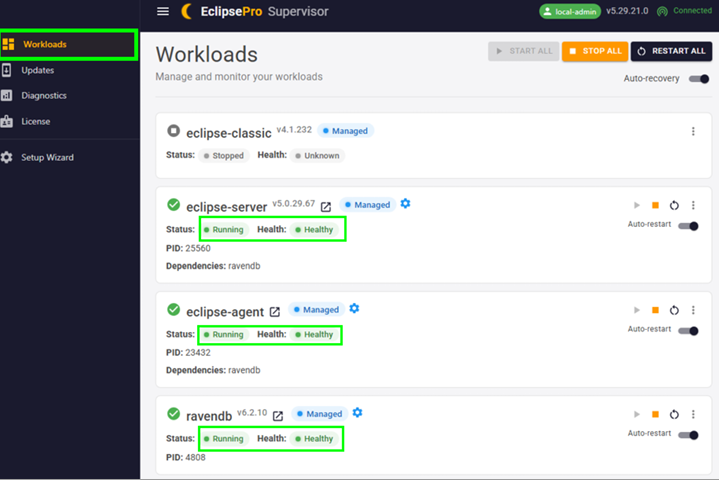
Check that Eclipse Pro services are running in the Supervisor application. Supervisor helps manage Eclipse Pro services. If you navigate to the Supervisor URL http://localhost:58080 select Workloads and verify that the Eclipse-Server, Eclipse-Agent, and RavenDB services are show “Running” for status and “Healthy” under Health status. If the status does not show running, try selecting the start arrow or restart option in the services respective tile and attempt accessing Eclipse Pro again.
-